Friday, February 24, 2012

Pepper time!


Last week, on February 17, I went ahead and purchased my chili pepper seed from Thompson and Morgan.  I also went to Walmart and purchased the Jiffy peat pellets that I like to use to start seed in.  Today, February 24, my seeds arrived in my mail box!  Very exciting, especially on a cold and rainy Friday!  Rather than wait for Saturday, I decided to go ahead and plant them today.

Left side: dehydrated state, right side: hydrated.

For those who may have never used Jiffys before, the peat pellets come in two different sizes.  In the past, I have only used the smaller, standard size.  This year, because I am starting the peppers much earlier, I decided to go with the larger size.  The benefit to using a larger size is that I can let the plants grow for a longer amount of time before I have to pot them up into larger containers.

Pushing the pepper seed down into the Jiffy.  

Along with the chili peppers, I also went ahead and planted my bell pepper seed.  I used left over seed from last year rather than purchasing a new packet.  Remembering from my previous experiences, peppers take a lot longer to germinate than tomatoes, so I am hoping that I can get the peppers up and going before I need to kick them out from under the grow light to make room for the tomatoes.

Planted!  Bell peppers on the left, chili peppers on the right.
I turned the grow light on to heat up the green house as peppers need temperatures of at least 75 degrees Fahrenheit to germinate.

Recap:  Bell peppers and chili peppers planted in Jiffy peat pellets on February 24, 2012.

Next post:  Pepper Update

Sunday, February 19, 2012

Painted Rocks: Turning a nuisance into a work of art


As I may have mentioned in previous postings, I have a huge problem with rocks in my garden!  I live near the Chehalis river so I think my yard is just an old river bed from thousands of years ago.  It's not like there are a few rocks here and there, they are everywhere!  And they are big, too!

So I finally decided that I needed to make the rocks that I have useful in some way.  I have never really liked the kind of garden art that I have seen at retail garden centers and other home decor stores and when I did find something that I liked, the price was usually too high for what it was.  So why not paint the rocks into garden decor and markers for the vegetable garden.

Paint brushes, acrylic paints, and the recently washed rocks.

Before I got started painting, I washed all of the dirt off each rock with a sponge and dried them off.  I used acrylic paint as my medium as I am hoping that it will do well out in the weather once the rocks go back outside.


Applying the paint was a little tedious as there are a lot of pores and cracks along the surface.
Painting the rocks was very enjoyable.  I chose a few different ideas and just went ahead and painted with out worrying too much if they were "perfect" looking.  I especially enjoyed the chili pepper as I am getting excited about actually trying to grow them this spring.


Sunflower

Carrot marker
As you can see, I painted four rocks so far.  Two of them will be markers and the other two (sunflower and blue swirl) will be garden art that I will place in my front garden bed.  This was very easy and anyone could do it.  What I really like is that now I will actually seek out the rocks that will look best painted!

Next post:  Pepper time!  


Sunday, January 8, 2012

Preparations for Spring!

Buds of Rhododendron 'Unique' waiting for spring!

January is a very exciting time, even if the weather and short days keep me inside. This is the time when I can plan out where to plant and what kinds of preparations need to be made to the beds. Because I do not have a composting bin or even a pile (too many weeds such as morning glory that invade), I have decided to pile up the leaves that have fallen from the Japanese maple in the backyard and place them into the bed where the peppers and tomatoes grew in 2011. I am hoping that the leaves will be broken down into compost by the earthworms and other hungry microorganisms in hopes of reintroducing nutrients back into this bed. 

Yes, that is a pumpkin thrown into the mix!


After spreading them out, I then stretched out the black plastic over the leaves to warm up the contents underneath and speed up the process a bit. A few weeks before spring, probably at the beginning of March, I will uncover the leaves and dig them into the soil. I will replace the plastic and then remove it again when it is time to plant. My hope is that it will be composted, but we shall see!

I have also compiled a list of all of the necessary items that will make this year's growing season a little easier than it was for me in 2011.  Here is the list in order of importance:

Corry's Slug and Snail Death
Jiffy Peat pellets in the larger size (Saw them at Walmart last year)
Bags of compost
Bags of potting soil (I intend to grow the peppers as well as the tomatoes and a few ornamentals in containers this year)
Miracle Gro

That is the plan!  At least for the moment I am writing this post!  

Next post:  Painted Rocks: Turning an overly abundant nuisance into garden art.

Saturday, December 17, 2011

Garden 2012: What I would like to try to grow

I just ordered my 2012 Burpee seed catalog last Sunday and I have been anxiously awaiting its arrival all week even though it will probably come closer to the end of the month.  Even though their catalog is available to view on their website, it just isn't the same as getting to hold a paper catalog that you have to physically turn the pages with your hands rather than click on an arrow icon to make a digital picture change.  Plus, I like to put stars next the the items that I am interested in!

That brings me to this posting's topic: what I am planning to try to grow for 2012.  I have never been a huge fan of following the advice that I should only stick to plants that are bred to grow in my climate.  To me, that is just plain boring and unadventurous.  I already know that I can successfully grow large heirloom tomatoes in cool Western Washington, so why not try something else that "they" say I can't grow? 


Chili peppers!  Don't they look exciting!
 So, in 2012, I am going to try to grow chili peppers!  And yes, I know, they need heat to produce hot chilies, but I am prepared to try my best.  And even if I am only able to produce one pepper that is still green by the end of summer, I will still consider that a success!  I am thinking of trying a mixed seed packet that is offered by Thompson and Morgan that contains chilies that are red, yellow, and orange, as I like variety and different colors.  Rather than grow them directly in the garden, I am planning on keeping them in containers and having them grow on my back deck where they will receive lots of sunlight and a lot of heat that radiates off the back of the house.  I will also place black plastic around the containers and will figure out some other methods along the way. 

I also plan on trying potatoes.  I grew potatoes long ago in Kenmore, WA and had a dissapointing experience as all of my potatoes ended up getting infested with some sort of grub that bored holes and made the tubers inedible.  I am hoping the garden soil here at my rental in Elma, WA does not harbor these pests.  I will find out one way or another.

I have also been toying with the idea of growing some sort of winter squash as well.  The issue with this is that I really don't know what to do with the squash after I harvest it!  I guess I will just need to do some extensive research on recipes that use squash that I will find appetizing enough not to waste what I have grown and produced.  I am aware of all of the soups, pies, and other caserole-type dishes that most people prepare during the fall and winter months that call for winter squash, it's just that I've eaten that stuff all my life and would like to use it differently or...maybe with chilies mixed in?!  Anyway, I've got time to decide on what to do.

As far as other vegetables, I will continue to grow tomatoes, carrots, lettuces, and retry bell peppers and corn.  I may also grow cucumbers and some sort of bean.  Very exciting stuff!

Next post:  Pre-spring preparations.

Sunday, December 11, 2011

Winners and Losers of the 2011 garden


Yellow pear tomatoes, one of the winners of 2011.
 So sorry for the long absence from writing to this blog.  Those who know me personally will know and understand exactly what I am talking about.  I was also highly engrossed in writing for Helium, which was having this awesome summer long writing contest, so my time devoted to this blog was taken up by other activities not to mention working outside in the garden during the daylight hours after getting home from work.

Now that December is here, it is a great time to reflect back on what I did during the growing season of 2011 and what worked and did not work for me.  We will start with the winners.
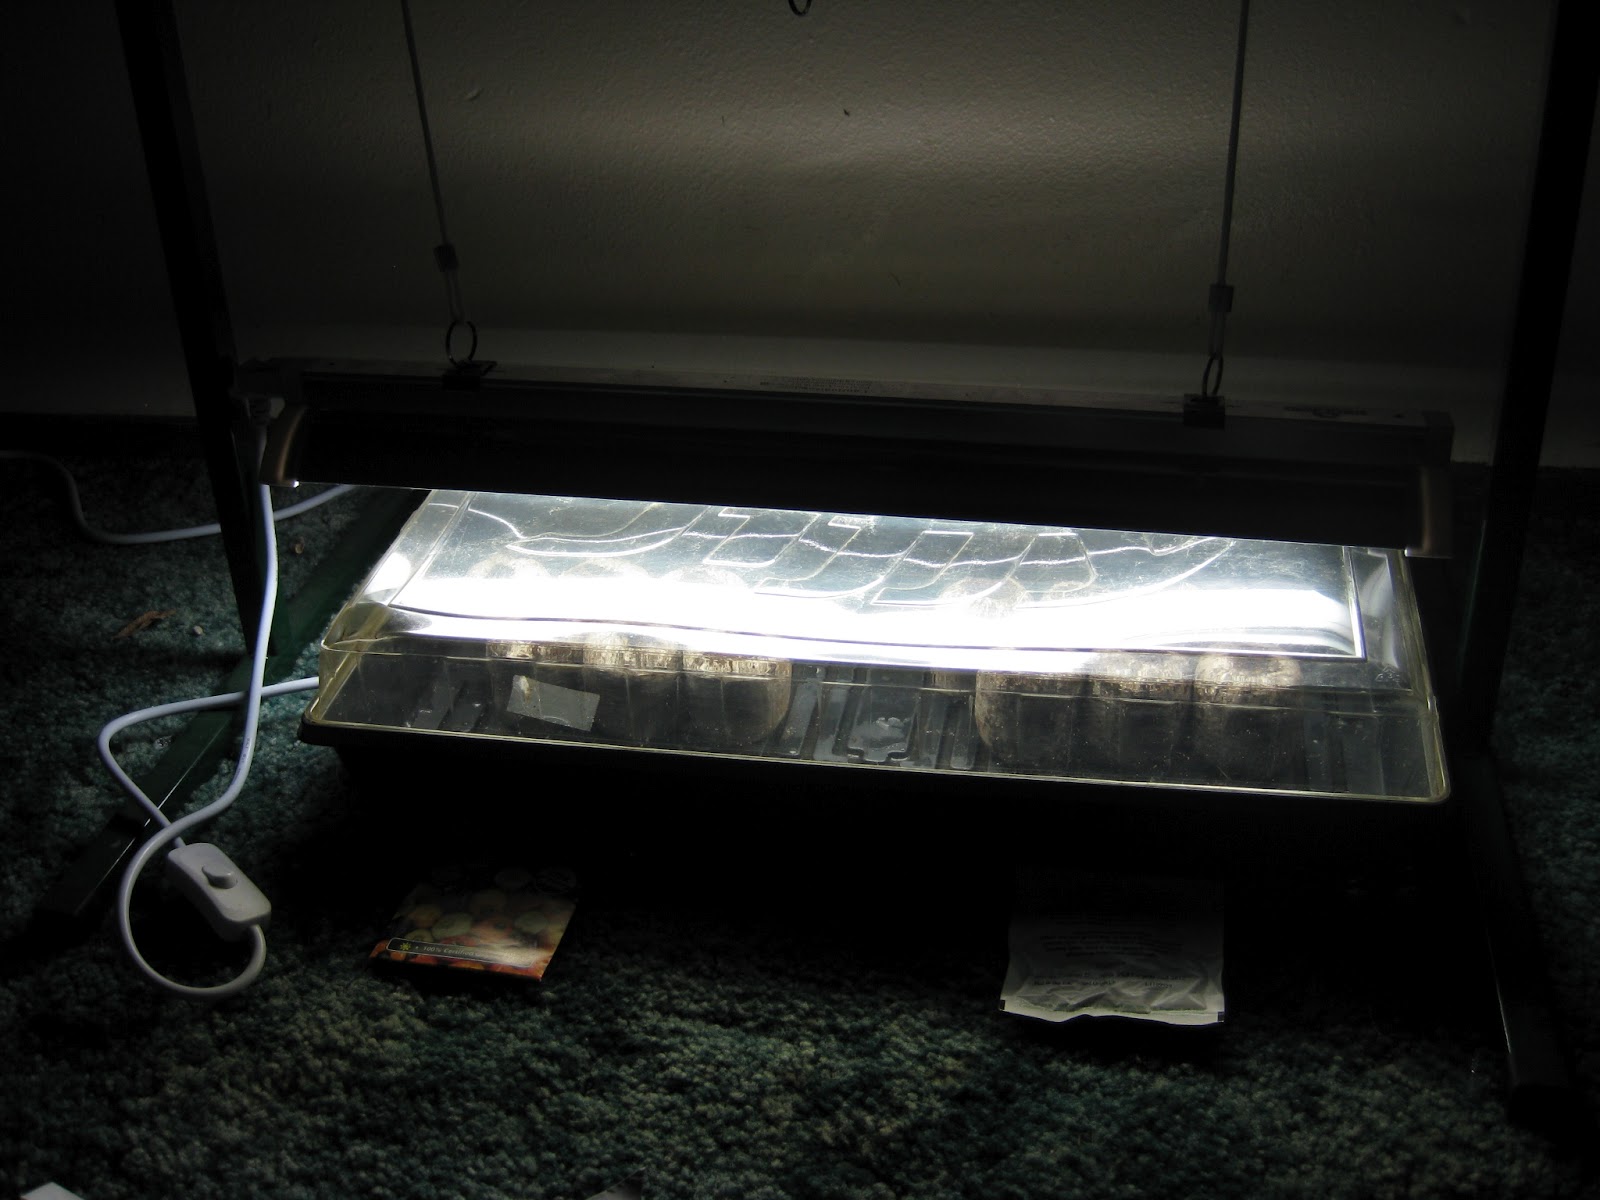
Winner: Tomatoes
I started all of my tomatoes as seed indoors under my grow light and they all did wonderfully.  When it was time to plant them outdoors, I used black plastic to absorb more heat to help the plants grow, flower, and fruit.  I also made an upside-down tomato planter out of a bucket and stuck a seedling in it.  All of my hard work paid off and I was able to enjoy a very nice bounty of heirloom tomatoes! 

Winner: Lettuce planted in container
I filled a large terra cotta pot with potting soil and sprinkled the surface with seed.  After only a week, the seed sprouted and I was able to harvest baby lettuces in 3-4 weeks after that.  I allowed a few to continue to grow into larger heads which were also delicious.  My only issues was trying to manage the watering schedule as the terra cotta pot did dry out near the surface much more quickly than a plastic pot would.  The plants were much more protected from slugs, although I did find a few lurking under the plants during the afternoons when it would warm up during July.

Winner:  Rainbow carrots
I had planted the seed for these carrots back in April.  Because it was a very cool spring, it did take them a while to really get growing.  I did have a few issues with slugs eating the leaves off the crowns of the carrots but they were always able to sprout back up in time.  Harvested some very nice roots in September that were around 7 inches long, a victory after struggling with the rock removal!

And now, the losers of the 2011 garden.

Loser: Bell peppers
It wasn't exactly my fault that the summer was cooler than usual.  The problem was that the cool temperatures were just perfect for a huge army of slugs to grow and destroy things!  In most years, the summer temperatures are high enough that the slugs will not attempt to come out of their hiding places in broad daylight.  This became a problem for me and I quickly ran out of Corry's slug and snail death as a consequence of frequent slug baiting.  When it did get warmer, the slugs waited until exactly twilight to emerge in a huge group that slowly crept toward my garden.  Just like little vampires, they narrowed in on my pepper plants and striped the leaves of one plant at a time.  The next morning, I would find only one plant completely void of all leaves but the others untouched.  The next night, they would target a different plant, and so on until all of my pepper plants were stripped of leaves.  The plants themselves were not dead and did try to put on new growth.  The problem was, by then, it was too late in the season to get any kind of harvest of bell peppers.  Very disappointing indeed.


Here is the corn at the beginning of July.  It started nicely but soon began to struggle.
 Loser:  Red sweet corn
This year, I wanted to try something that was quite foreign to me.  I had never grown corn before and knew there would be challenges.  I planted the corn directly into the ground at the beginning of June and had germination in a week and a half, which is good for Western Washington.  I then realized that the challenge was to try to get the roots of the corn to grow in soil that is chock full of rocks!  I had only removed a few at the time of planting and thought nothing of the consequences of leaving the next layer of rocks under the ground.  Corn needs a lot of soft loamy soil to grow into and this was definitely the least ideal growing condition for it.  As a result, the corn struggled to grow and only reached a height of 18 inches tall at the most.  At the end of August, to my great surprise, all of the plants produced pollen followed by miniature corn ears!  Some of the earns were pollinated and began to swell but then cooler weather set in and the miniature ears were eaten up by the slugs.  I pulled up my tiny corn stalks and examined their tiny root systems.  The proof was in front of my eyes: rocky soils can dwarf certain plants.

Now, based on my results, I have a pretty good idea of what works and what doesn't work in this garden.  I have decided to try the same crops again for next year but will adjust my methods to see what might work better.  In the words of Dr. Loverine Taylor, my plant genetics professor at WSU, a negative result is still a result.


Next post:  What I will do differently for the plants in 2012 and the new things I will try to grow!

Monday, June 27, 2011

Growing Blueberries

Immature blueberries.
Blueberries are all the rage for home gardens.  They are a great fruit to try as the plants are just small shrubs and there is a huge selection of varieties that will grow  in just about any climate or growing zone.
My row of blueberry plants.
I have four different varieties growing in my garden.  Planting multiple varieties not only helps with pollination but will also give you a staggered harvest rather than getting a lump all at once.  All blueberry plants like well draining soil that is on the acidic side but there are quite a few varieties out there that have been bred to adapt better to alkaline soils.  Below are some photos of some of my blueberry plants. 
This is a a very compact variety of blueberry known as 'Top Hat'.  As you can see, it is loaded with flowers!

This is 'Blue Jay', a standard variety.

'Pink Lemonade', the blueberry that produces pink berries.
'Pink Lemonade' is a variety of blueberry that was bred to produce pink berries.  My small plant did not produce any flowers this year so I will not get to have any of these curiousities in my yogurt.  However, I have had the opportunity to taste them.  Everyone I have talked to says something different but, in my opinion, they taste no different than a regular blue blueberry. 
Bird netting attached to the deck with push pins and held up with sticks!

I have just recently put up some bird netting over the row of blueberry plants in an effort to keep the birds from eating my entire crop (which is what happened last year, 2010).  This is a good idea if you live at a location where there are a lot of birds that frequent your garden for insects and other tasty morsels. 

For more information on 'Pink Lemonade', visit my company's website:  Briggs Plant Propagators
Here are a couple of links of where to purchase 'Pink Lemonade':  Burpee and Unique Plant Shop

For more information on how to keep birds from eating your blueberries:
How to protect blueberries from birds.

Next post:  Growing Strawberries

Thursday, June 16, 2011

Planting Corn

Ruby Queen Sweet Corn by Burpee

A moment of honesty:  I have never grown corn before.  This is the first time that I will try to grow corn from seed and hopefully get something from it.  If I do not get any ears, at least I will have decorative dried cornstalks to use as decoration in the fall!  Staying true to my love for unusually colored vegetables, I will be attempting to grow Ruby Queen sweet corn which is a Burpee introduction.  It is supposed to be harvestable after 75 days which means it is a short season variety.  I have always wanted to try to grow this type of sweet corn, mainly because I was highly attracted to the color.  Burpee introduced this variety in their catalog a few years ago and I was happy to see that Walmart carried it in their seed selection.  If I succeed, this corn will definitely put me in a place of high esteem among the gardening community.  Even when I bought the seed at the Walmart checkstand the woman helping me asked if I had ever grown this corn before.  I told her "No, this will be the first time."  She then told me to come back and tell her how it grows if I have success.  That little conversation was enough of a boost to drive me to take on the challenge!
The red kernels.
 As you can see from the photo above, the kernels are a  beautiful red.  According to the seed packet, the corn starts out as a blush red and then matures to a darker red.  I will want to harvest my corn for eating when it appears blush red and will let a few ears mature to dark for decoration and to save as seed for next year's crop, that is, if I like the corn and want to try it again.
Corn planted in 12 spots in three rows.
Using the remaining open area of my vegetable garden bed, I dug up 12 holes and loosened the soil up.  After removing more large rocks and ensuring that the weeds were also removed from the holes, I planted 3 kernels per hole.  The seed packet suggested to make rows rather than holes but I don't have that much space and this is also more of an experiment than anything else.  I chose to plant 3 kernels per hole just in the hopes that something will emerge and the more I plant, the higher the chance of success becomes.  Corn kernels are very dehydrated so I will be watering the kernels once a day while this sudden dry weather is upon us here in Western Washington. 

Recap:  Planted Ruby Queen Sweet Corn on June 15, 2011.  Ears are harvestable in 75 days.
Next post:  Growing Blueberries.