Friday, February 24, 2012

Pepper time!


Last week, on February 17, I went ahead and purchased my chili pepper seed from Thompson and Morgan.  I also went to Walmart and purchased the Jiffy peat pellets that I like to use to start seed in.  Today, February 24, my seeds arrived in my mail box!  Very exciting, especially on a cold and rainy Friday!  Rather than wait for Saturday, I decided to go ahead and plant them today.

Left side: dehydrated state, right side: hydrated.

For those who may have never used Jiffys before, the peat pellets come in two different sizes.  In the past, I have only used the smaller, standard size.  This year, because I am starting the peppers much earlier, I decided to go with the larger size.  The benefit to using a larger size is that I can let the plants grow for a longer amount of time before I have to pot them up into larger containers.

Pushing the pepper seed down into the Jiffy.  

Along with the chili peppers, I also went ahead and planted my bell pepper seed.  I used left over seed from last year rather than purchasing a new packet.  Remembering from my previous experiences, peppers take a lot longer to germinate than tomatoes, so I am hoping that I can get the peppers up and going before I need to kick them out from under the grow light to make room for the tomatoes.

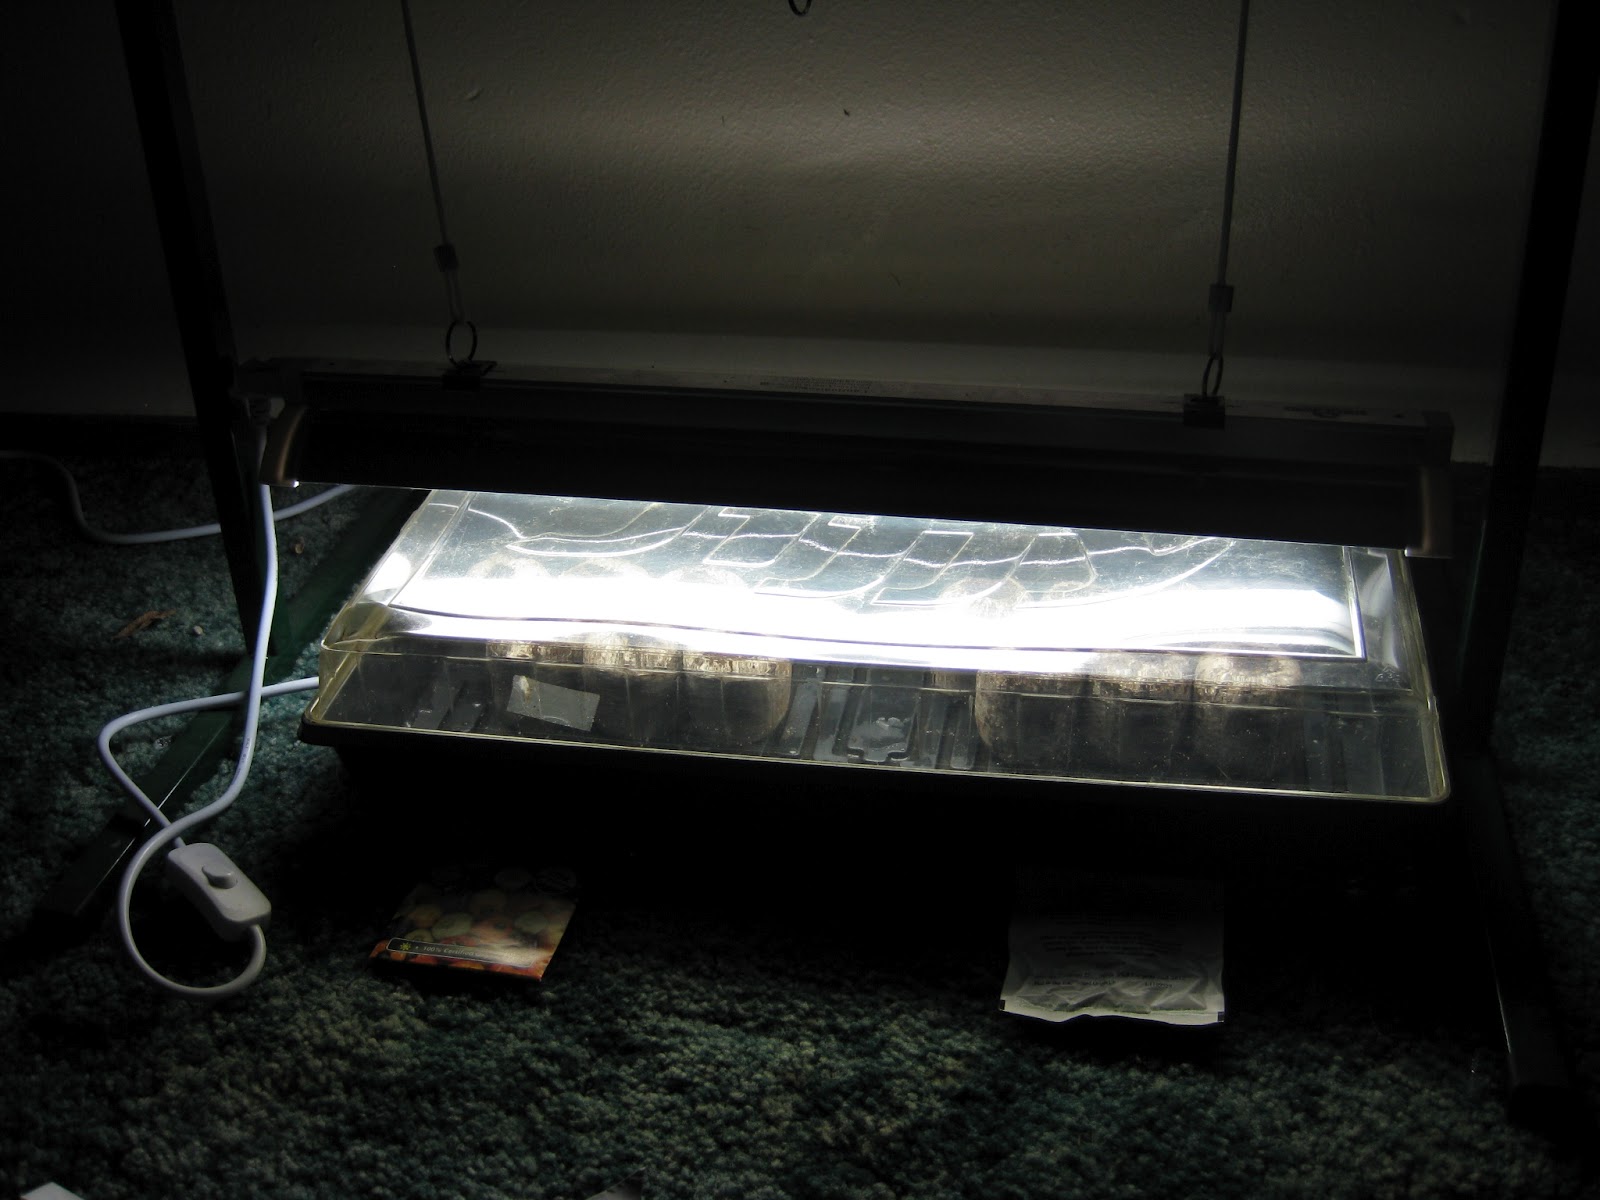
Planted!  Bell peppers on the left, chili peppers on the right.
I turned the grow light on to heat up the green house as peppers need temperatures of at least 75 degrees Fahrenheit to germinate.

Recap:  Bell peppers and chili peppers planted in Jiffy peat pellets on February 24, 2012.

Next post:  Pepper Update

Sunday, February 19, 2012

Painted Rocks: Turning a nuisance into a work of art


As I may have mentioned in previous postings, I have a huge problem with rocks in my garden!  I live near the Chehalis river so I think my yard is just an old river bed from thousands of years ago.  It's not like there are a few rocks here and there, they are everywhere!  And they are big, too!

So I finally decided that I needed to make the rocks that I have useful in some way.  I have never really liked the kind of garden art that I have seen at retail garden centers and other home decor stores and when I did find something that I liked, the price was usually too high for what it was.  So why not paint the rocks into garden decor and markers for the vegetable garden.

Paint brushes, acrylic paints, and the recently washed rocks.

Before I got started painting, I washed all of the dirt off each rock with a sponge and dried them off.  I used acrylic paint as my medium as I am hoping that it will do well out in the weather once the rocks go back outside.


Applying the paint was a little tedious as there are a lot of pores and cracks along the surface.
Painting the rocks was very enjoyable.  I chose a few different ideas and just went ahead and painted with out worrying too much if they were "perfect" looking.  I especially enjoyed the chili pepper as I am getting excited about actually trying to grow them this spring.


Sunflower

Carrot marker
As you can see, I painted four rocks so far.  Two of them will be markers and the other two (sunflower and blue swirl) will be garden art that I will place in my front garden bed.  This was very easy and anyone could do it.  What I really like is that now I will actually seek out the rocks that will look best painted!

Next post:  Pepper time!  


Sunday, January 8, 2012

Preparations for Spring!

Buds of Rhododendron 'Unique' waiting for spring!

January is a very exciting time, even if the weather and short days keep me inside. This is the time when I can plan out where to plant and what kinds of preparations need to be made to the beds. Because I do not have a composting bin or even a pile (too many weeds such as morning glory that invade), I have decided to pile up the leaves that have fallen from the Japanese maple in the backyard and place them into the bed where the peppers and tomatoes grew in 2011. I am hoping that the leaves will be broken down into compost by the earthworms and other hungry microorganisms in hopes of reintroducing nutrients back into this bed. 

Yes, that is a pumpkin thrown into the mix!


After spreading them out, I then stretched out the black plastic over the leaves to warm up the contents underneath and speed up the process a bit. A few weeks before spring, probably at the beginning of March, I will uncover the leaves and dig them into the soil. I will replace the plastic and then remove it again when it is time to plant. My hope is that it will be composted, but we shall see!

I have also compiled a list of all of the necessary items that will make this year's growing season a little easier than it was for me in 2011.  Here is the list in order of importance:

Corry's Slug and Snail Death
Jiffy Peat pellets in the larger size (Saw them at Walmart last year)
Bags of compost
Bags of potting soil (I intend to grow the peppers as well as the tomatoes and a few ornamentals in containers this year)
Miracle Gro

That is the plan!  At least for the moment I am writing this post!  

Next post:  Painted Rocks: Turning an overly abundant nuisance into garden art.